

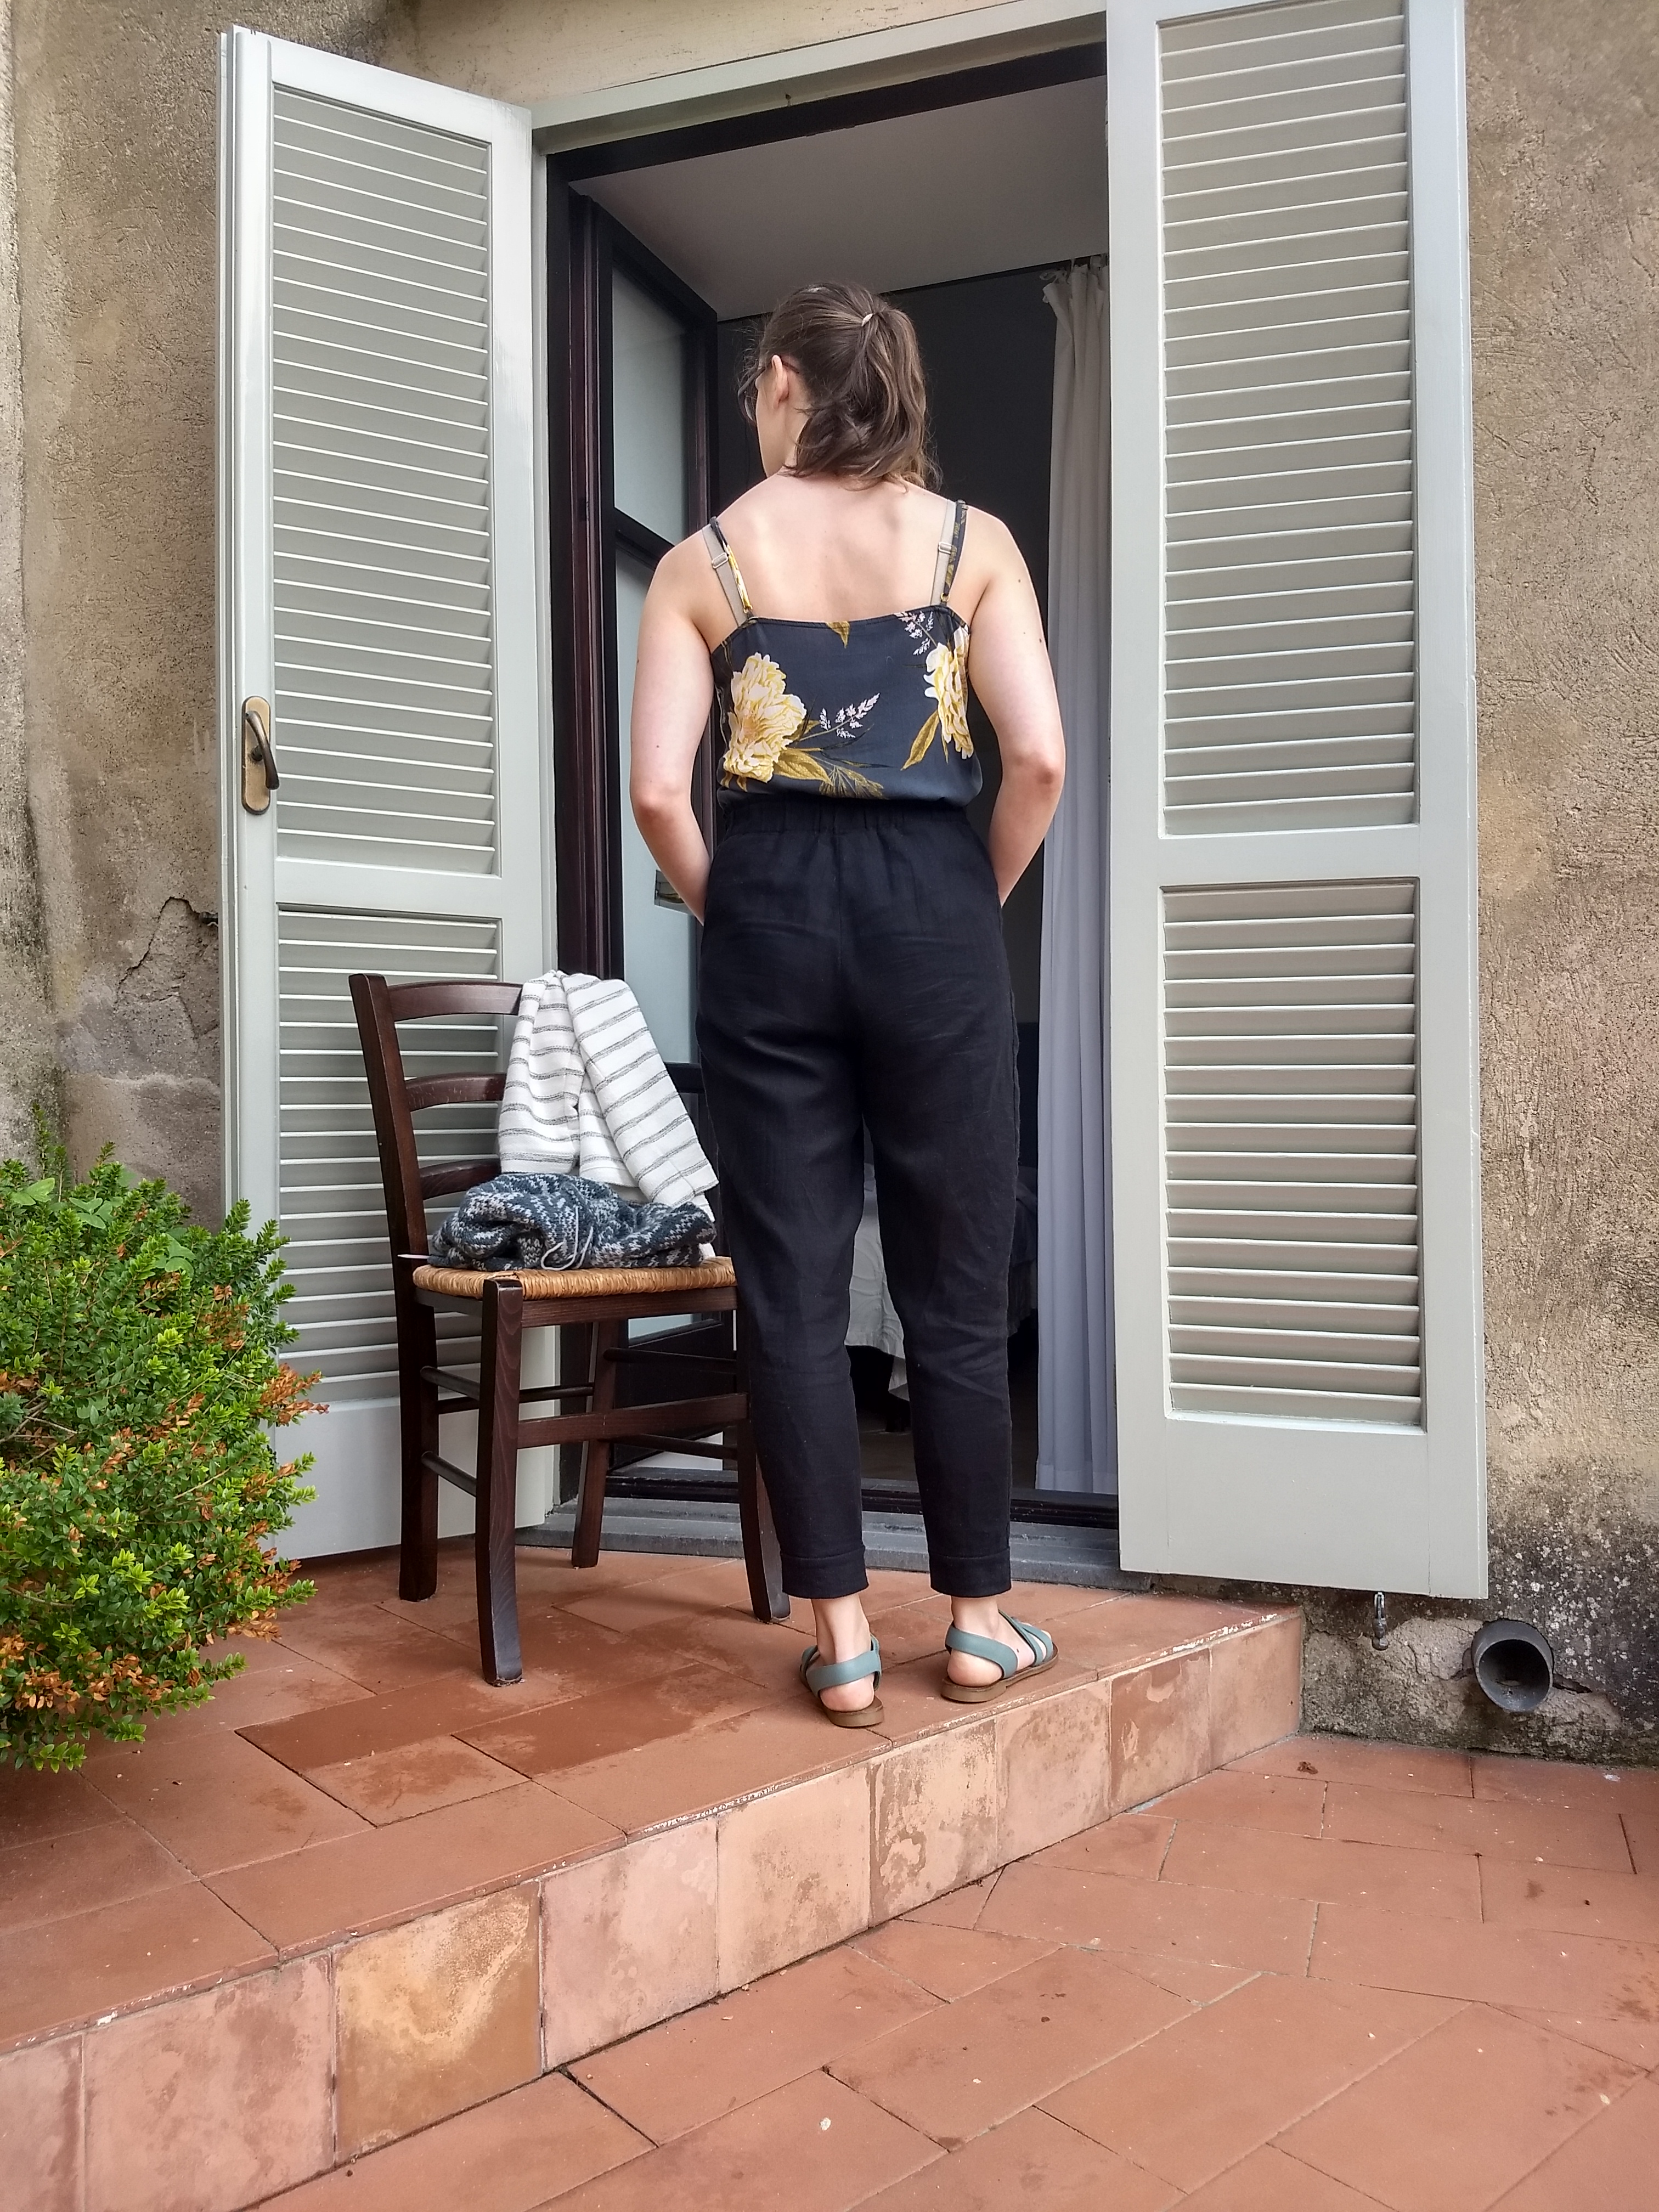
Well, who am I if I don’t finish projects on the verge of being seasonally inappropriate, and take pictures where I haven’t quite managed to get my face in focus?
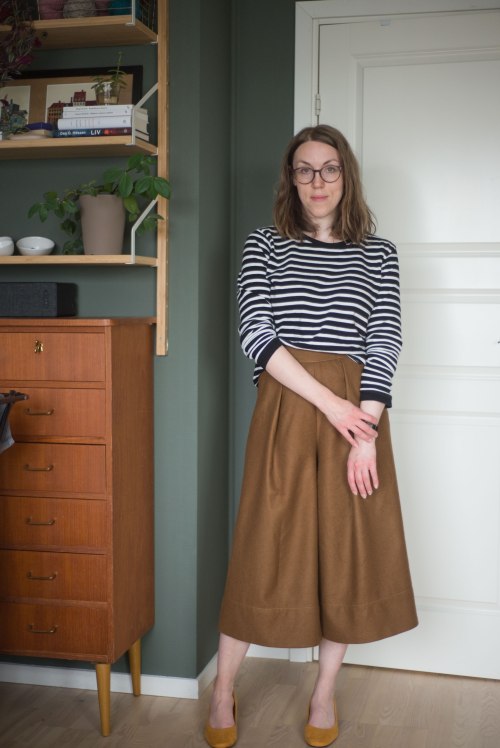
Pattern: Galleria culottes by Secondo Piano, in size 8, I think. The pattern is free, and the size range for finished garment measurement at hips is 36,5″/93cm to 47″/119 cm.
Fabric: Mid-weight wool from a shop in Shepard’s Bush in London, bought in 2017 or 2018. The color is caramel, or copper, or bronze, or maybe burnished gold.
How much fabric is left: At least two metres, maybe 2,5.
How will I use the leftovers: I am thinking maybe a trench coat? Or a cape. Either way I will totally be able to wear a set!

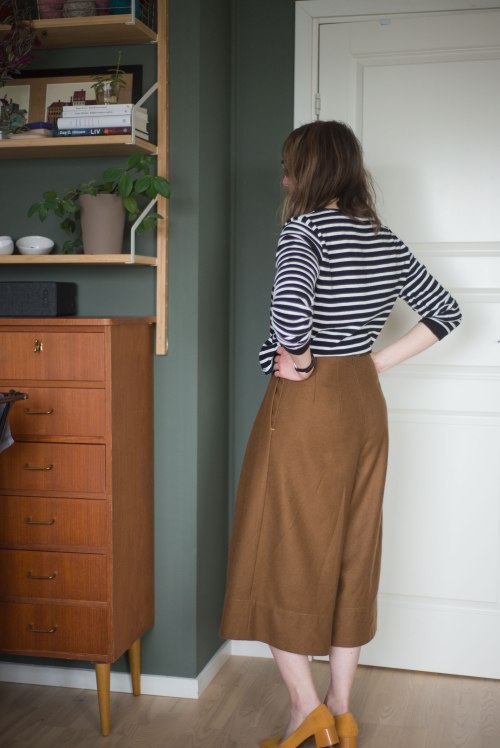
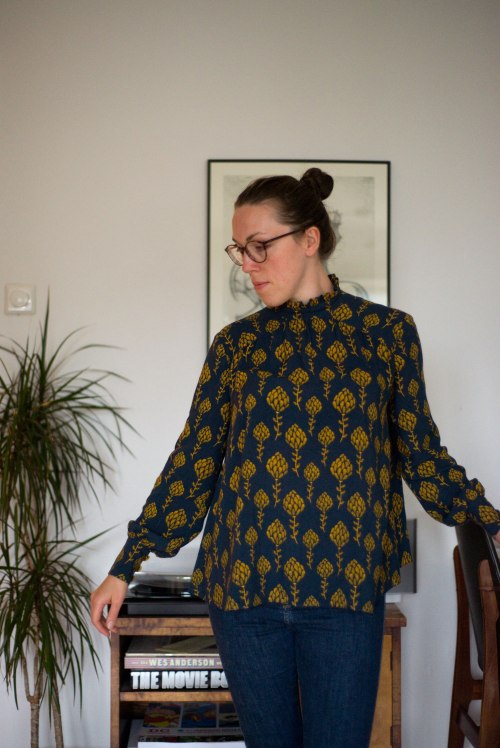
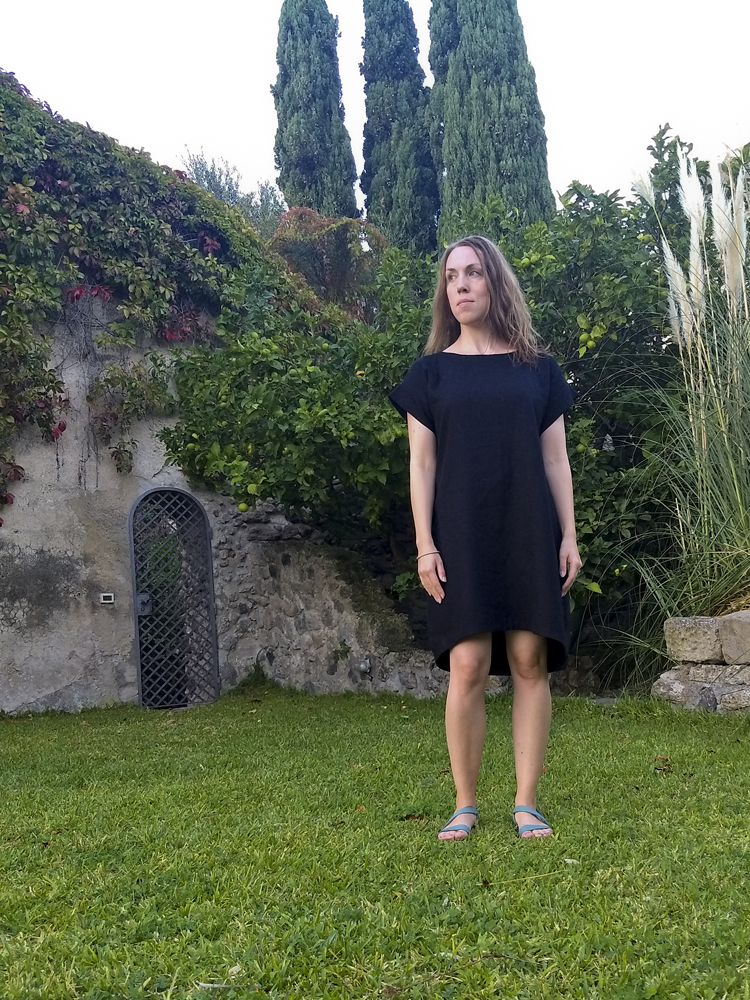
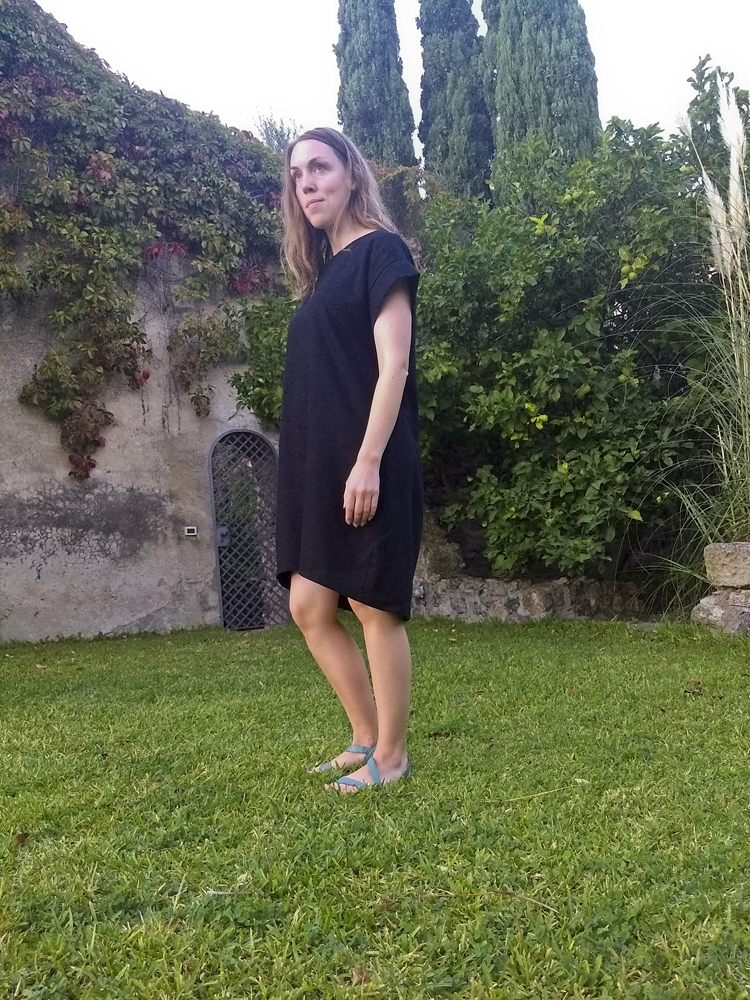
My pose in the photo above is giving me some Audrey Hepburn-vibes – probably helped by my low and square heels (a recent find from a new, favorite vintage place in Bergen). Maybe the silhouette of the culottes helps as well with the 60s or 70s feel?
This is a sewing project I have taken my time with. I think I cut out the main pieces a couple of years ago, constructed the pockets and inserted the zip, and then for some reason put it all aside. As part of my not-so-new-any-longer project management scheme I choose one sewing project per month. If I don’t finish it within that month, I roll it over to the next. This has been a good way to get through my very large collection of unfinished projects that I truly do want to complete, but just need a little structure to help me get there. These pants have been my March and April 2022 project.

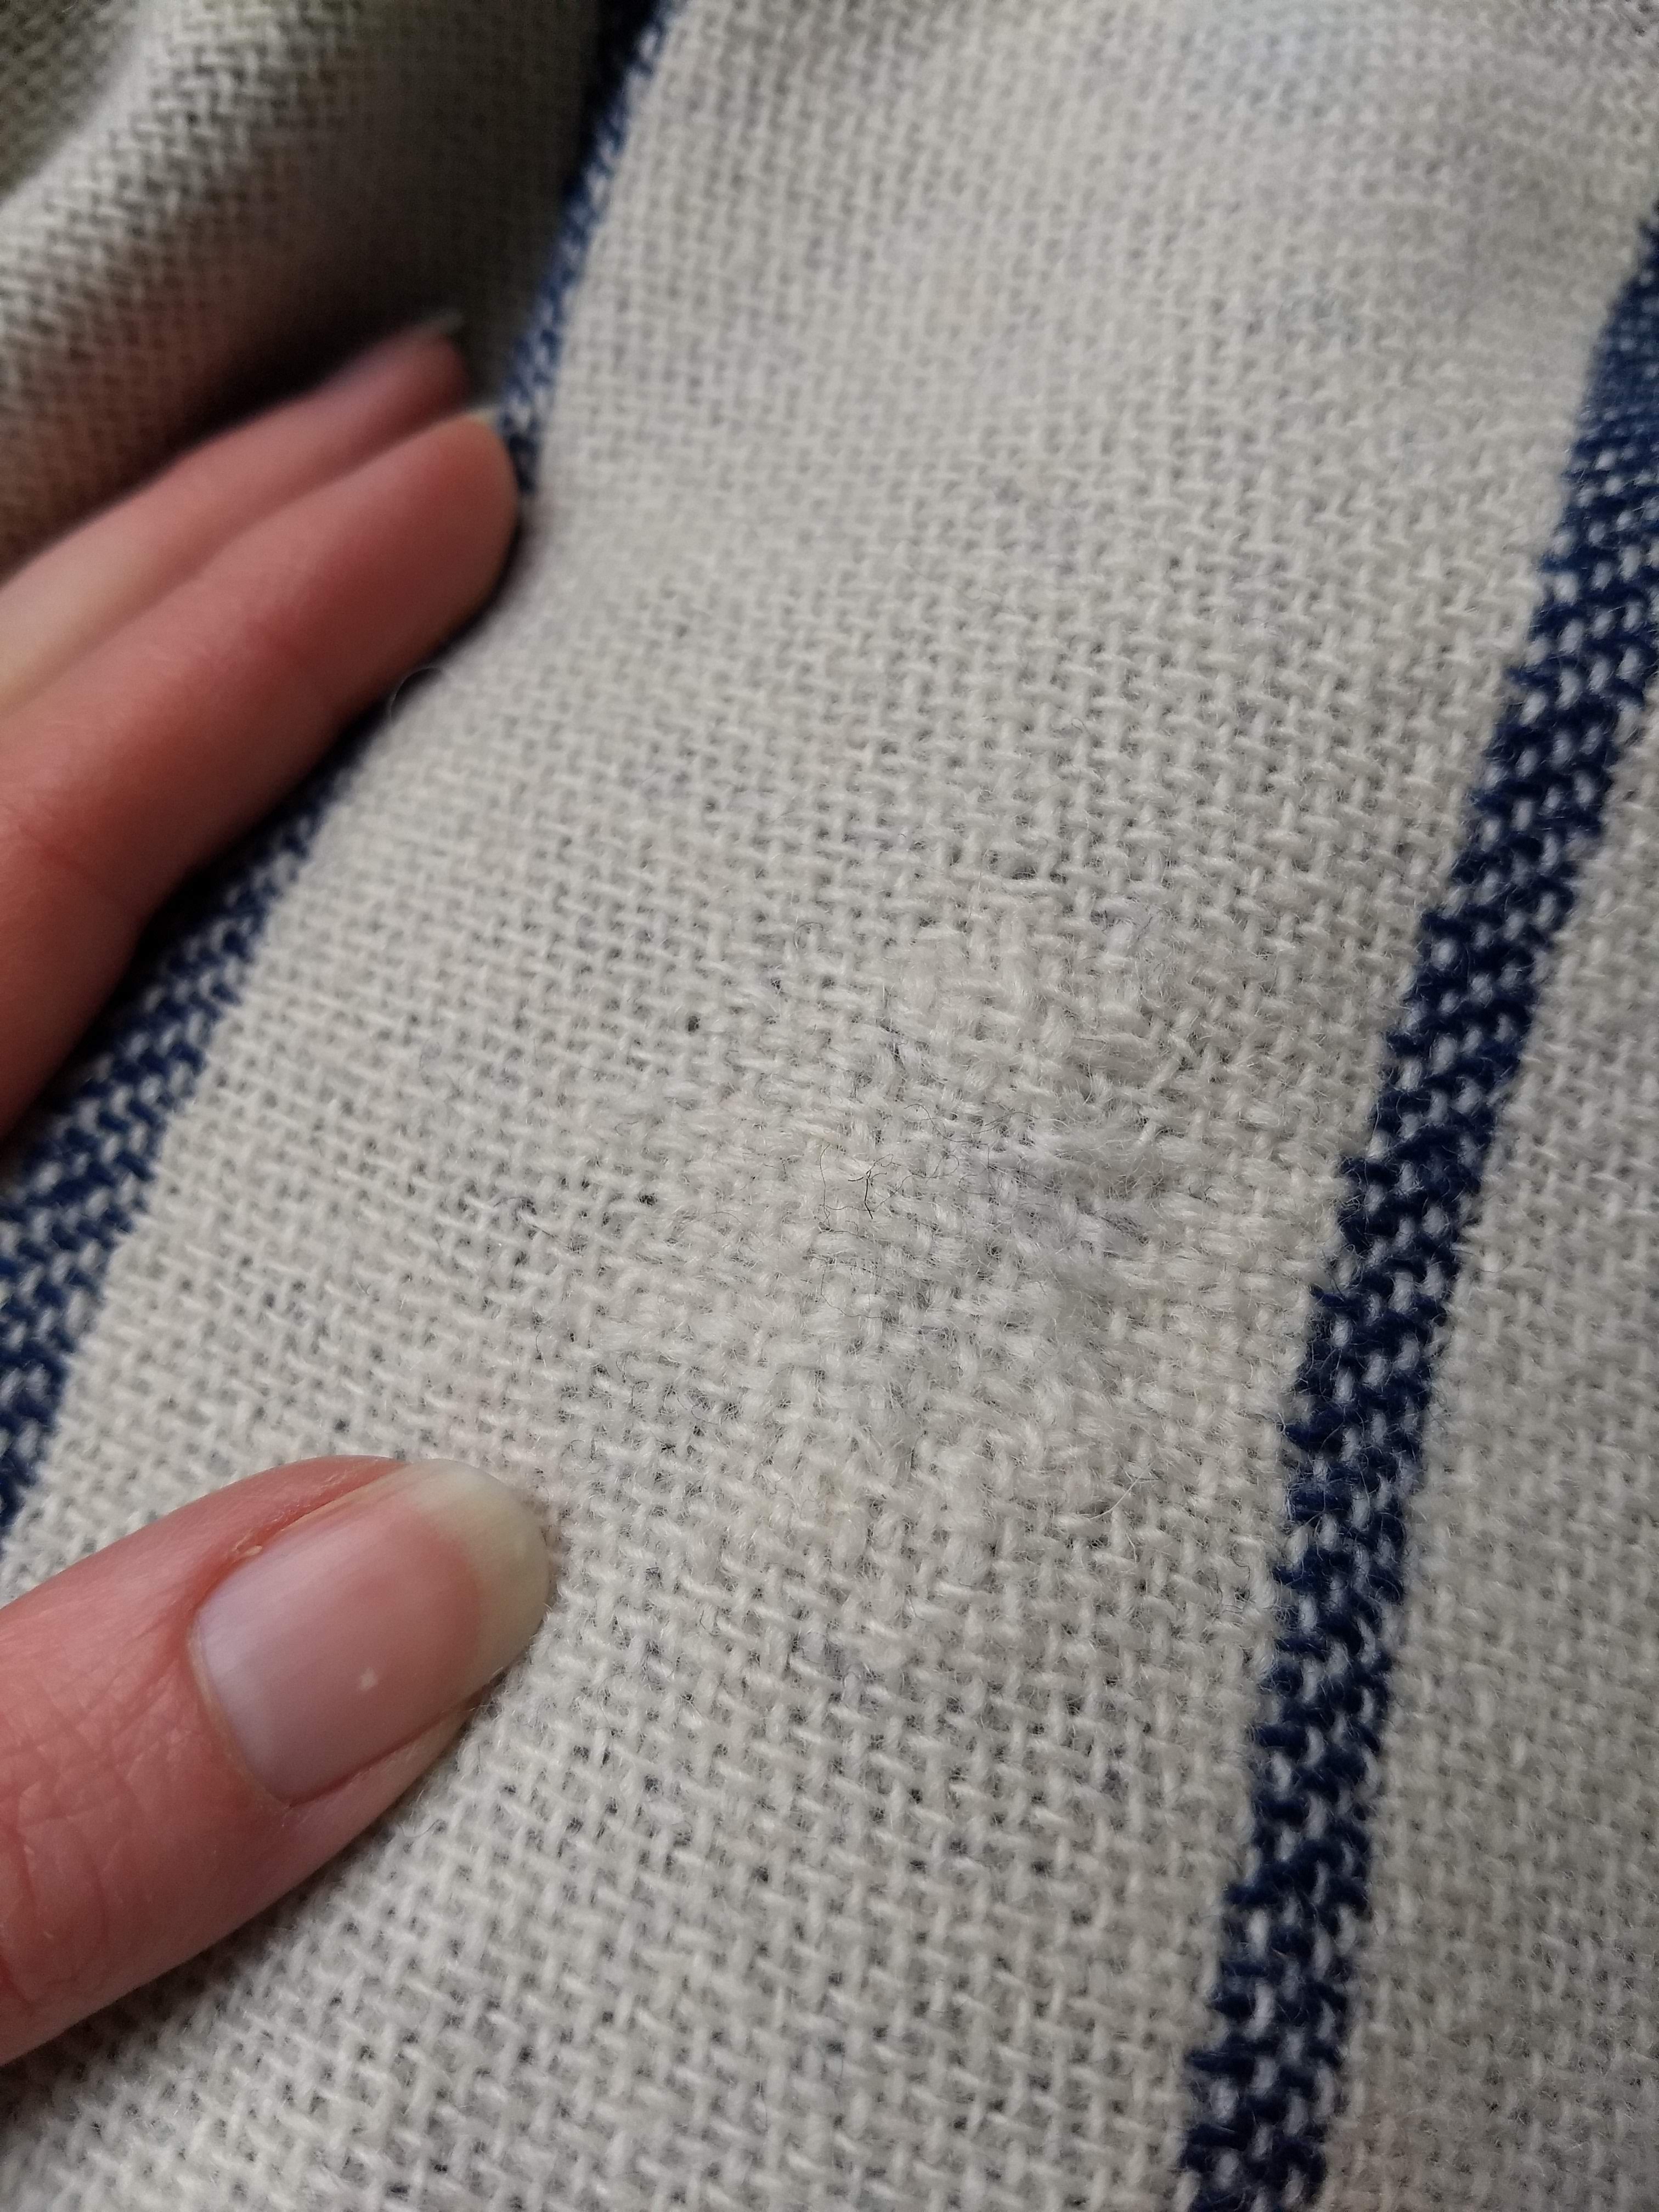
Look at my cute little helper! I can kind of already see that the pants will attract some cat hair. Also, it is itchy. These pants (well, culottes) are designed to be fully lined, and even with a silk lining something is itching it’s way through. It is bareable, but definitely noticable. I don’t think I will go back and change anything on these pants, given the frequancy I imagine I’ll wear these, but the future potential trench coat will probably be underlined and then maybe lined with something sort of dense, to keep the fibres from poking through.
I do like the swish of these pants, as well as the color and firm drape of the fabric. The real star however, is the pattern and the instructions. I found everything very beautifully laid out and designed (I mean, when the font and the numbers themselves are pretty, I am a happy camper), the drafting is good as far as I can tell, and the details are really something. The pocket construction and the little bar tacks are lovely, and the instructions have you bind the inner waistband edge, which is then at one edge folded up to meet the overlap – classic trouser construction, and very satisfying aestetically.


I brought this sewing project with me to a summer cabin for Easter break, and only there realized the next step was to interface the waistband. I had not brought interfacing, but I did have a piece of firmly woven cotton that I guess was in the project basket because I had considered doing a sew in interfacing. In the picture there is the white cotton basted to one half of the straight waistband, and on the other side a strip of silk to face the inside waistband to lessen the itch factor.
It was a real brain puzzle to get everything in the right place, involving a lot of measuring and marking with chalk. I wanted to reinforce the top edge with seam binding (the black ribbon), but not to fold it over. I butted it up to the edge of the seam line for the silk lining insertion, and edgestitched it in place. The waistband was steam shaped, and I added seam binding when I sewed the waistband to the pants as well. I thought I had reinforced everything really well, but it still seemed to grow a bit during a day of wearing. I am undecided if I will do something about it. Maybe a good steaming and coaxing will help?

For the hem I used several bridal and tailoring techniques, which I always really enjoy. The hem facing is from the lining fabric, which I bound with bias tape instead of folding – just being fancy. I edgestitched the bias bound lining, which then created the seamline on the outside. That line isn’t entirely straight, but I am ok with it. I don’t think that is visible for the casual observer! After turning up the seam allowance I did a little origami bit, pinching and sewing the seam allowances of the turn-up together, while folding the main fabric out of the way. This anchors the hem and adds stability. The bottom of the lining came up short of the hem facing, and here I made thread chains attaching the seam allowances of the lining and the wool fabric together, while still allowing the lining to move as needed.

The pattern really is high quality. The pattern pieces are shown in a diagram with the correct and varying seam allowance along the different edges, which is something I haven’t seen on other patterns. It does make it more easier to trip up and sew something with a too large or too small seam allowance as you have to keep referring to the diagram (and I totally have several places with incorrect seam allowance), but I think it also makes for a more precise finished garment. I really only deviated from the pattern with the inverted front pleats, as I wanted to be able to adjust the position and angle of them after getting the pants on my body. I suspect the changes were minimal, but it was nice to be able to fine tune.
I am very happy I have completed these pants, and that my finished garment is so close to the vision I had! It might take me years still to get through my already started projects, but it feels good to focus at one at a time, and give them all the attention they deserve.


