


… or “Loki mittens and the third watch-cap”. It’s winter! I made wooly stuff I can wear! Let’s have a look.
Mittens
Yarn: Random scraps of yarn – most of it gifted balls of Icelandic yarn from the stash of a friend who’d been there.
Pattern: Made up, based on Loki sweater pattern. (my ravelry project page)
Techniques: Stranded colorwork, ribbing.
Cabled hat
Yarn: Merino wool from a frogged sweater.
Pattern: Cabled watch-cap by Kristen Orme
Techniques: Ribbing, cables.
So, the mittens are a figment of my imagination. Not in the sense that they aren’t real (they must be – the keep my hands warm every day!), but the pattern is made up. I came across the Loki kid sweater on Ravelry a really long time ago, and immediately thought they would make cool Icelandic-inspired mittens with some Icelandic coarse wool I’d just been given by a friend. It took several years to make this happen, but here! Finally!


I used the repeat pattern from the original kid sweater and repeated it eight times, following the decreases from the chart exactly. It made a sort of funny cone-like shape that isn’t the best for.. you know, hand-shapes. I’m on to the second pair (this time for a friend), and making improvements to get a proper hand shape instead. Meanwhile, I washed, blocked and stretched this pair, and it works just fine. It is very rustic looking – both in yarn and stitch quality! In my defense I will claim that the gorgeously colored green yarn (which a burn test revealed to be some sort of acrylic I think, though oddly stiff) was really hard to work with. I didn’t make it easier on myself either by choosing to combine three different weights of yarn! Especially in the middle section where all three colors are in play at once – it got thick and dense real fast. Surprisingly though, for being a stranded pattern *and* real sticky Icelandic wool, these mittens are not very warm. On their own they are barely good for a crisp fall day, which doesn’t quite describe the season we’re in. I wonder if the gauge might be too loose to get a real dense fabric? Regardless – a pair of thin gloves underneath and it’s all ok. Plus, I love how well these mittens match my woolen hats, and my winter jacket, and generally the rest of my wardrobe. I’ve decided they are kind of charming in their rustic-ness!

I had a lot of fun knitting these mittens – I’ve forgotten how much I love doing colorwork! It is a fairly small project, and with changes to pretty much every row it is excellent entertainment… Just one more row! I have two more of this type planned out/started, and another fingering weight colorwork pair of mittens at the top of my ravelry queue (this one). I’m thinking of using my Barcelona souvenir yarn and some thin brown alpacca yarn. It will be sumptuous!


Ok, and now the hat. It might look familiar. It’s the third time I’ve knit the exact same hat in the exact same yarn. I posted about the first time I knit this hat here (it ended up being to big and I gave it to a friend), and here is the post for the second one (which apparently I’ve lost).
I’m not quite sure what to say about this hat other than 1. I obviously love it since I’ve knit it three times, 2. I actually finally almost used up the rest of this merino wool! It came from a thrifted sweater and the yarn is so fine I’ve been knitting with four strands, 3. I like the wider ribbing of the second version the best, and 4. I’m particularly pleased with how I did the increases between the ribbing and the cabled pattern in such a way that the pattern grows naturally from the rib pattern.

Oh, I wanted to talk a little about photo editing! That was a topic on Katie’s blog in connection with her Better Pictures post on indoor photography, as well as Gillian’s post on using Lightroom. Personally I use a combination of Bridge and Photoshop, which I have since I got a really great deal on the Adobe CS-package while still a student at an art college. Sidenote – there at school I took a digital photography class where we used Lightroom, and I thought it was really good, and easy to use. When my current set-up is outdated beyond repair, Lightroom would be my dream choice for blog photo editing.
The set-up I’ve got going now is pretty much a substitute to the Lightroom setup in many ways. I use a Nikon D600, and I have it set up to save in both RAW and jpeg formats. I got used to working with RAW-files in the digital photography class, and I’m just not going back if I can help it! There is so much information in the unprocessed files, which in many ways makes photo editing much easier, since there is more you can do before your photos look… you know, really edited. Anyways, I open my photoshoot folder in Bridge, and look through what I have. As I go along I label the pictures I like (you can use a star rating, or different colors). Then I filter to show only labeled photos, and start comparing and deselecting the good but not great ones. Once I have my selection I mark them all and open with Photoshop, which will go straight into RAW-editing mode. From there I can play with temperature, exposure, black level, brightness, recovery and fill light (the last two are great for overexposed white areas, and those times when the light source is behind me or not strong enough). Those are the things I pretty consistently adjust. I have set up an action to save my photos, so a keyboard shortcut will resize the photo optimized for web, into a folder I’ve specified, and close out the photo from Photoshop so I know I’m done with it. It works really well. I’m very in favor of actions – once you’ve taken the trouble of setting them up!

I thought about all of this because while editing the photos I hit the auto-option for color temperature and general exposure (like I always do – at the very least I want to see what the program thinks I should do!), and it made the colors really warm, and it made for a nice-looking photo. My first thought however was “This is all wrong! It was a really cold day, with the sun setting early in the afternoon and I had a pale, low sun as the source of light. It should look cold!”. So I left the pictures looking a little cold. I’m not entirely sure what my point is, other than maybe that I edit the pictures to reflect how I think it looked or felt that day. Which this day was pretty damn chilly. I think maybe my frosty breath is visible in some of the pictures!

Anyone else have a system or agenda with their photo editing? Or, use the “I’m just adjusting my hat/scarf/hair-pose to avoid awkward idle hands in photos? Or, have knitted some warm wintry goodness lately? It’s the season! (Or maybe… it’s the season for having them finished already so they can be put to use!)
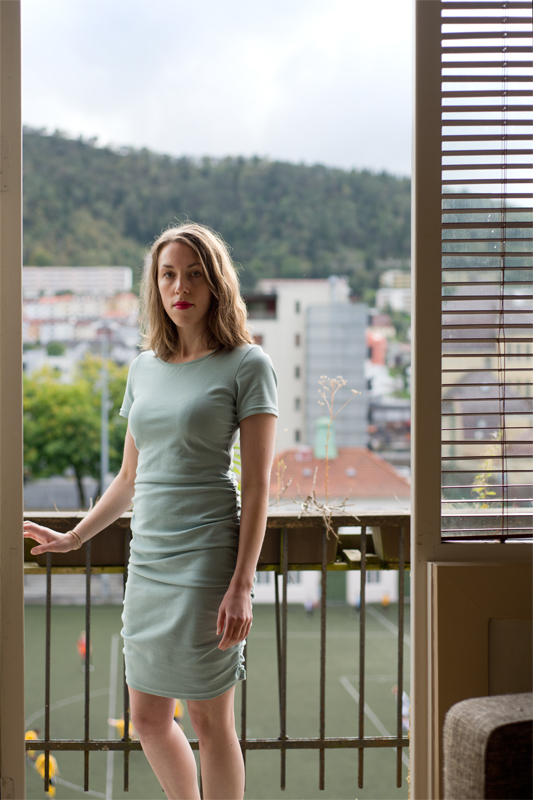 I look a little sullen (which I wasn’t!), but I get a sort of cinematic vibe from the whole “big sky, posing on the balcony, framed by the doorway”, so I’m posting it anyways. Let’s just call it my serious look.
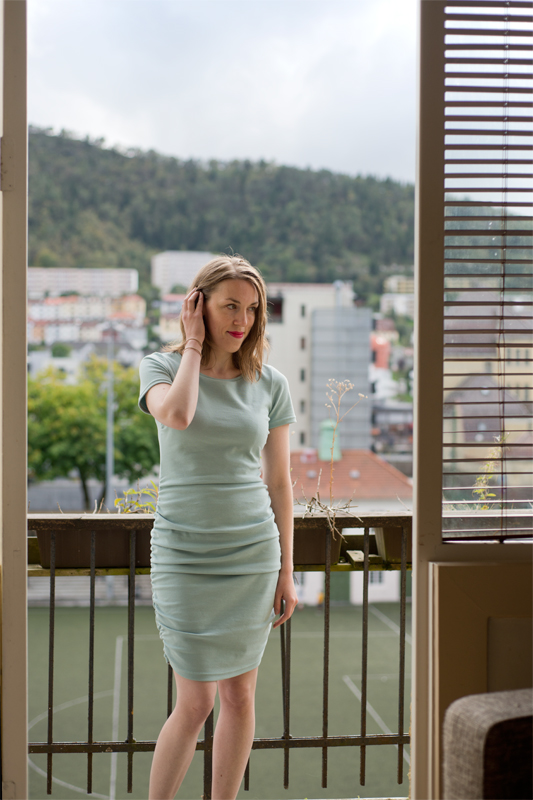


